There are 3 parts to this tutorial:Documentation Index
Fetch the complete documentation index at: https://docs.scalev.com/llms.txt
Use this file to discover all available pages before exploring further.
- How to assign a custom domain
- How to create a product and enter the LMS Studio menu
- How to add materials
[REQUIRED] How to Assign a Custom Domain
Your LMS product MUST assign a domain to the store first. Whether it’s using a domain with Scalev’s default subdomain (example.myscalev.com), or with your own custom domain. This needs to be done so that your members can access it smoothly. Also so that the automatic notification email sent when members purchase your LMS product can be delivered smoothly. Without a domain = cannot sell LMS products. Here’s how to assign a custom domain: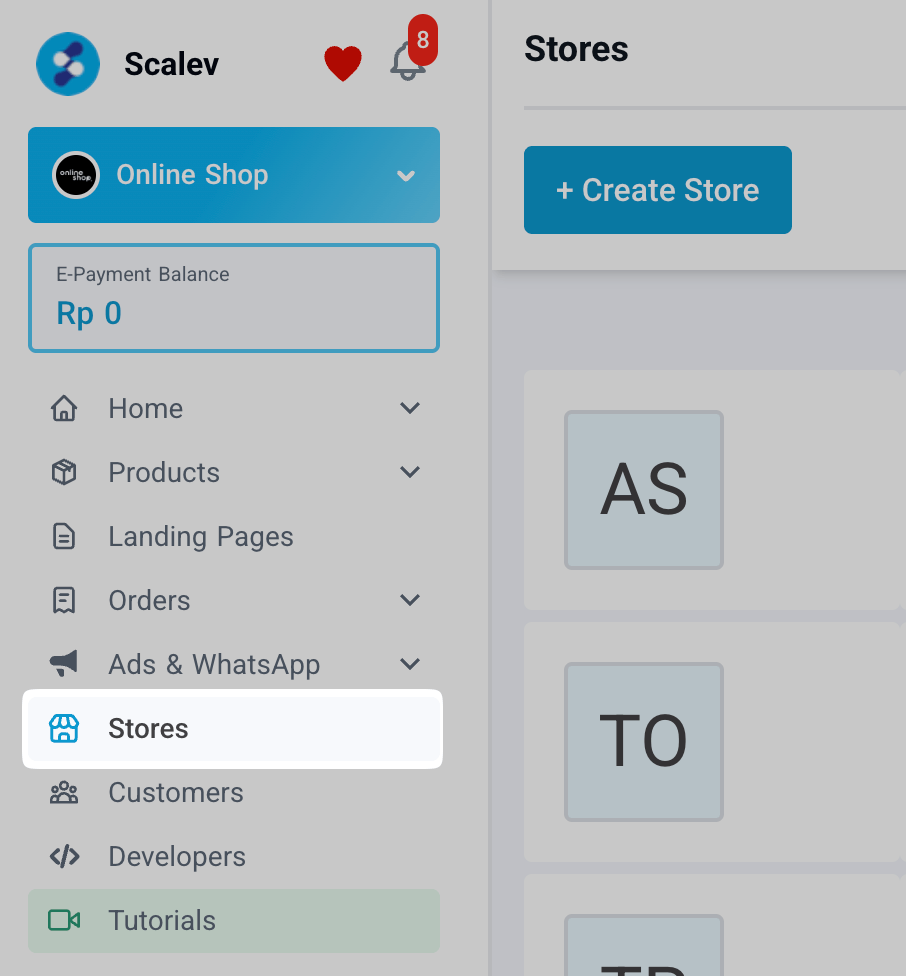 Select the Stores menu
1/ Open the Store menu then click your store name
Select the Stores menu
1/ Open the Store menu then click your store name
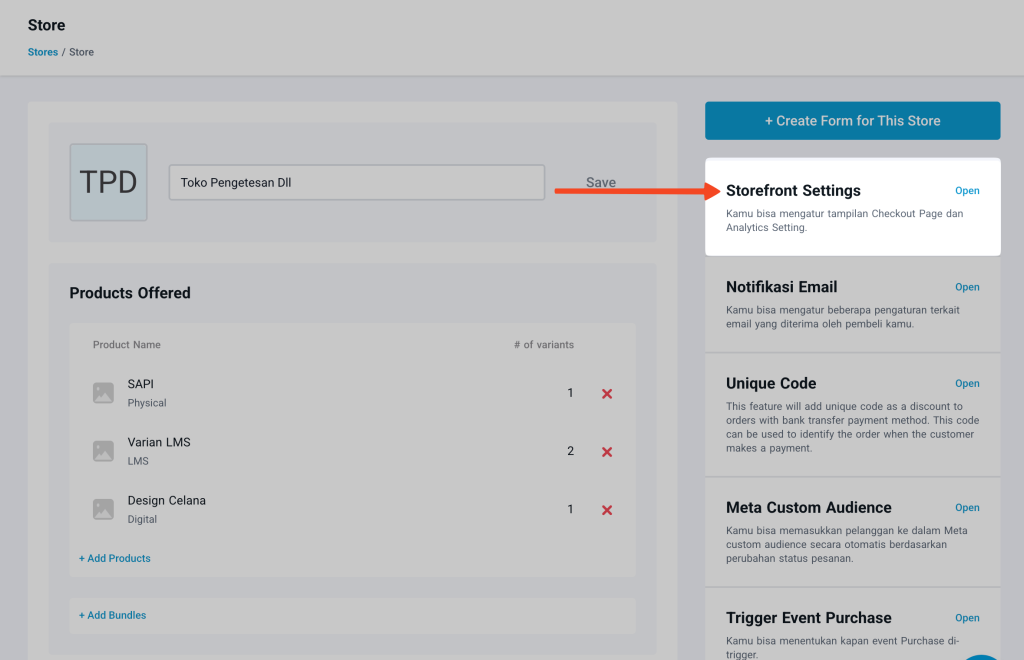 Click the Storefront Settings menu
2/ On the right side there is a widget, then click Storefront Settings
Click the Storefront Settings menu
2/ On the right side there is a widget, then click Storefront Settings
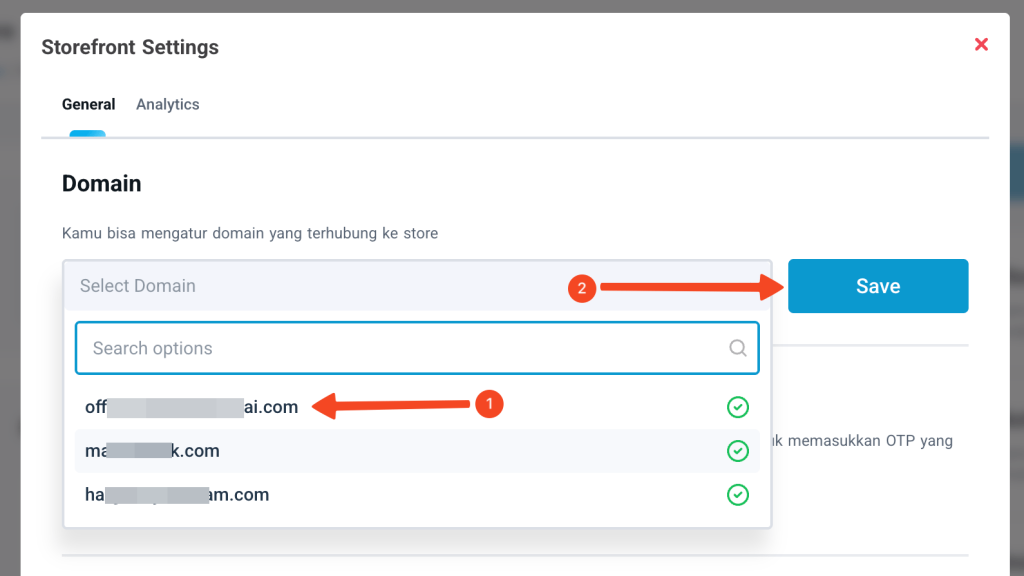 3/ A popup dialog appears, then select your active domain and click the Save button
After completing the domain assignment for your store, you can proceed to create an LMS product.
3/ A popup dialog appears, then select your active domain and click the Save button
After completing the domain assignment for your store, you can proceed to create an LMS product.
How to Create a Product and Enter the LMS Studio Menu
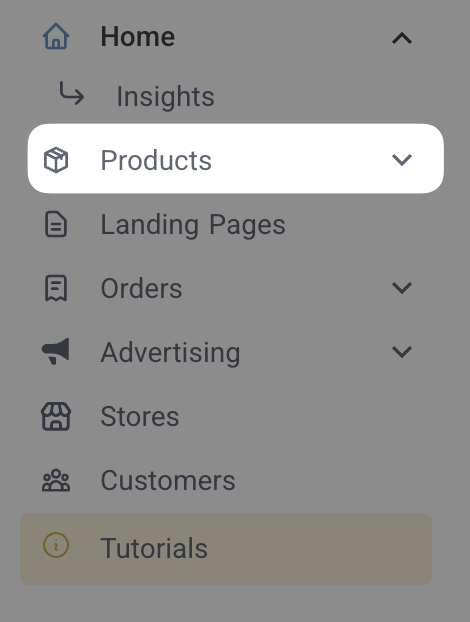 Select the Products Menu
A/ Enter the main menu list, select Products.
Select the Products Menu
A/ Enter the main menu list, select Products.
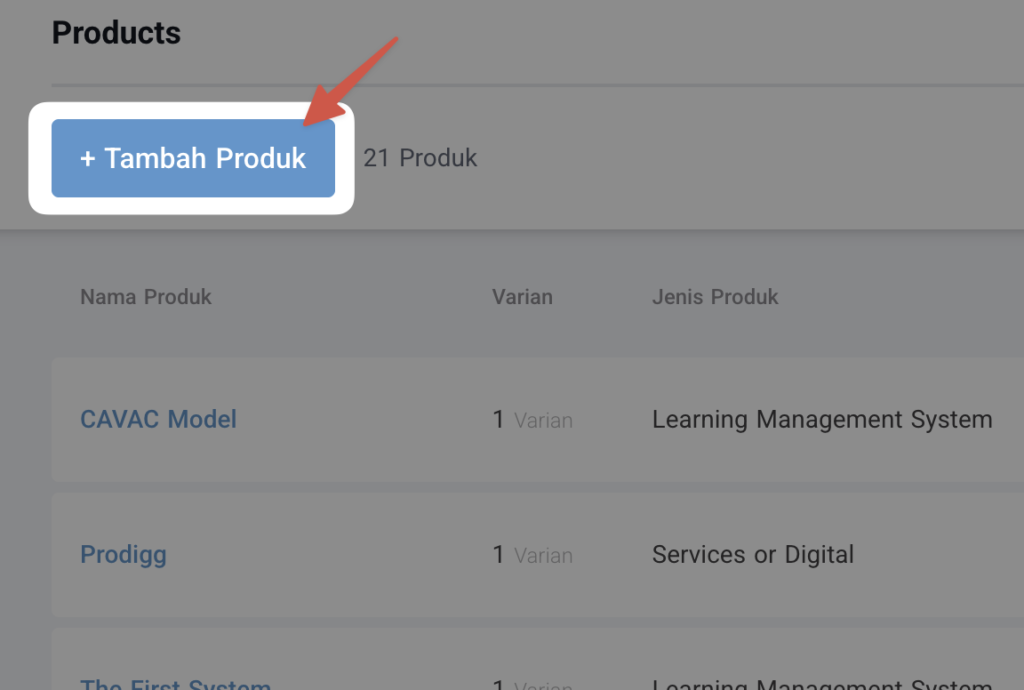 Click Add Product
B/ After the Products menu opens, find the Add Product button.
Click Add Product
B/ After the Products menu opens, find the Add Product button.
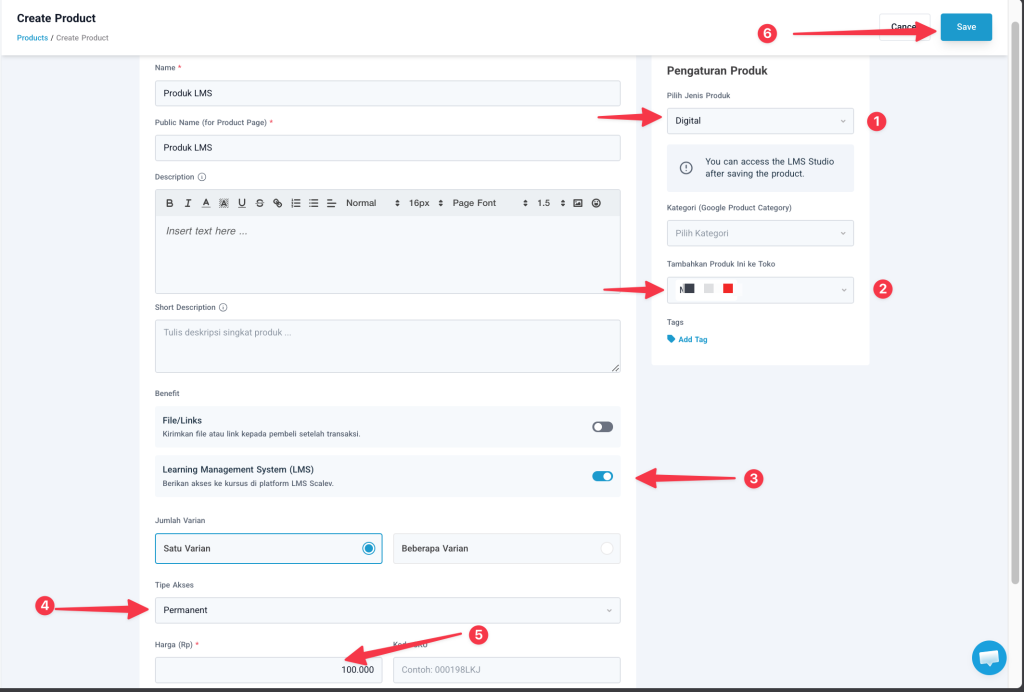 C/ Set the product type
- Select the product type as Digital Product
- Select the Store that has already configured the domain as in the previous Step
- Enable the LMS Benefit
- Set the Access Type
- Set the price
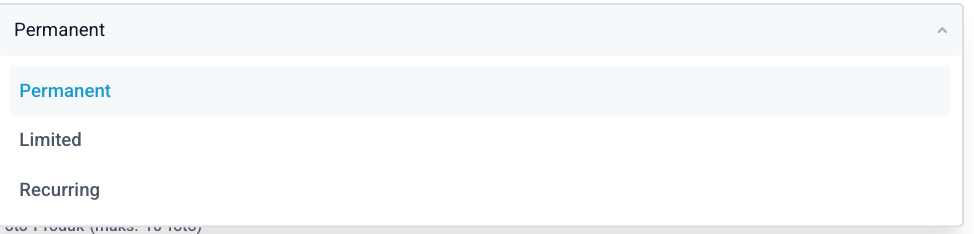
- Permanent = Access to LMS materials forever
- Limited = Can be set for how long customers can access LMS materials
- Recurring = Can be set so that customers must subscribe to access LMS materials
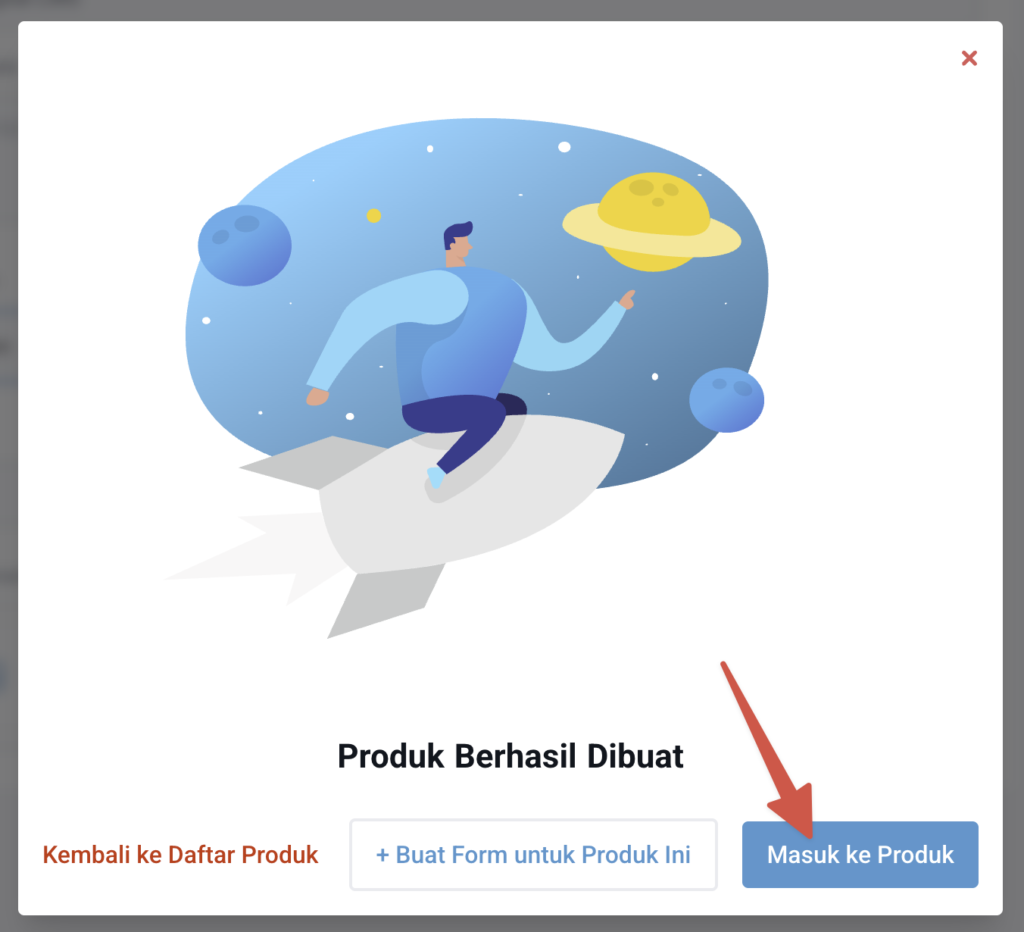 Enter the Product
D/ You can enter the product again, using the button that appears shortly after your product is saved. Or you can enter the product edit by accessing the product list.
Enter the Product
D/ You can enter the product again, using the button that appears shortly after your product is saved. Or you can enter the product edit by accessing the product list.
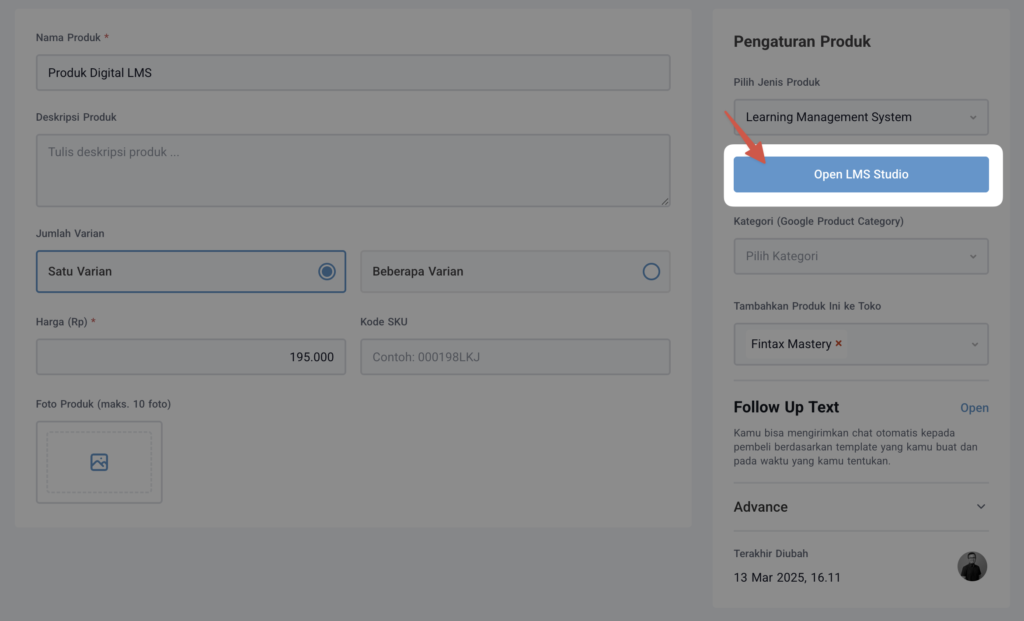 Click the Open LMS Studio button
E/ A menu like the one above will appear again, but with the addition of the Open LMS Studio button.
Click the Open LMS Studio button
E/ A menu like the one above will appear again, but with the addition of the Open LMS Studio button.
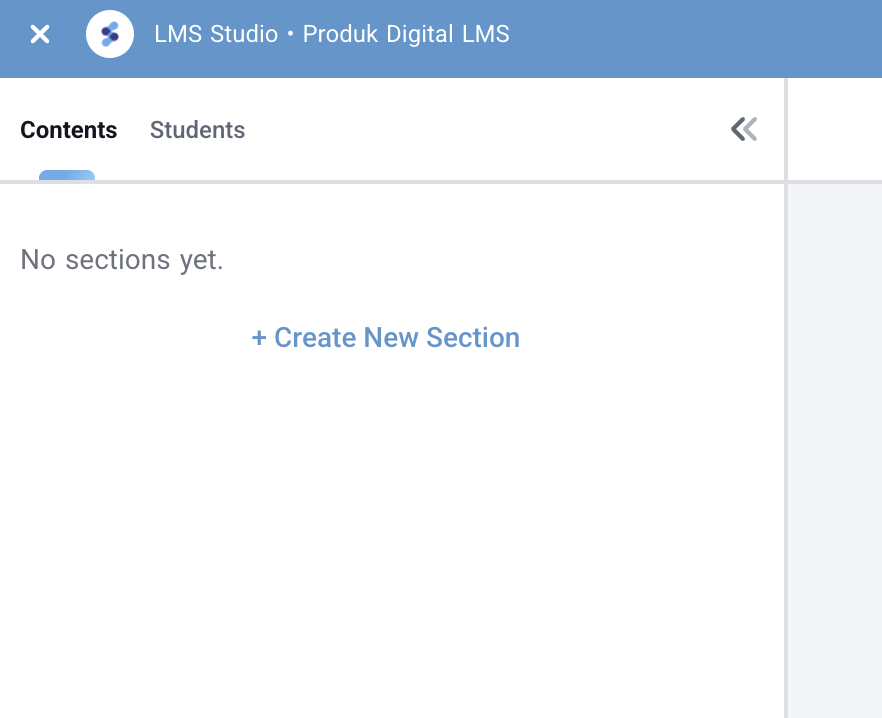 LMS Studio editor page
F/ Then you will see a page like this.
LMS Studio editor page
F/ Then you will see a page like this.
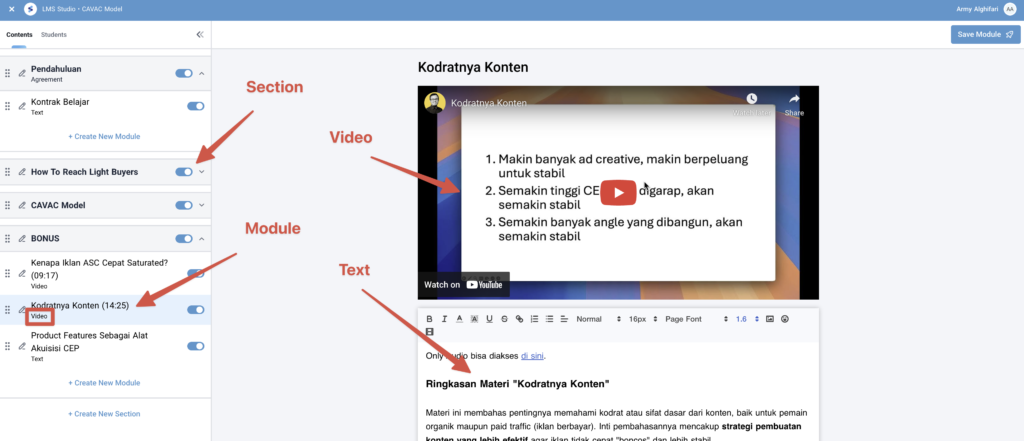
How to Add Materials to the LMS
There are 2 levels of material settings in the LMS:- Section, which acts like a folder for modules
- Module, the smallest unit of our material
- Section agreement,
- Section regular
- Text,
- Video
Creating a Section
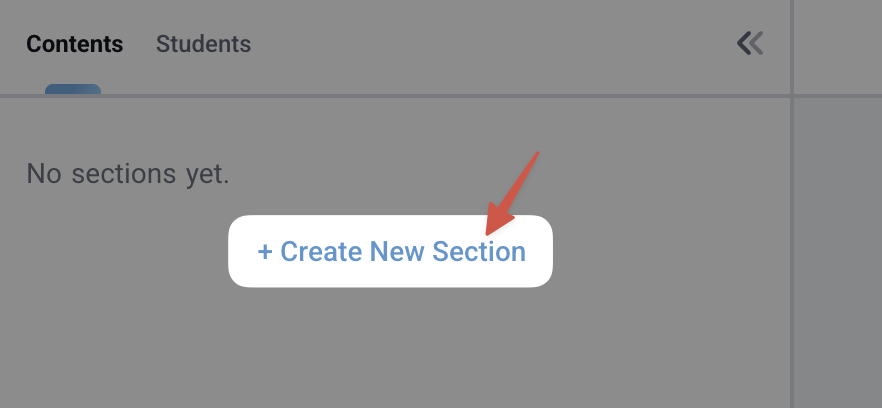 Click on + Create New Section. After that, this menu will appear:
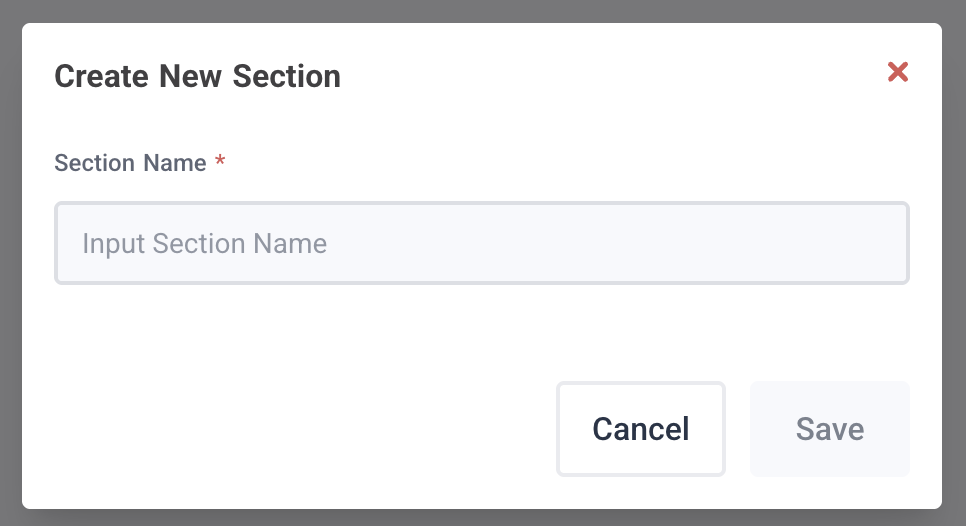 Fill in the Section name
Please fill in with the name you want. Then press Save.
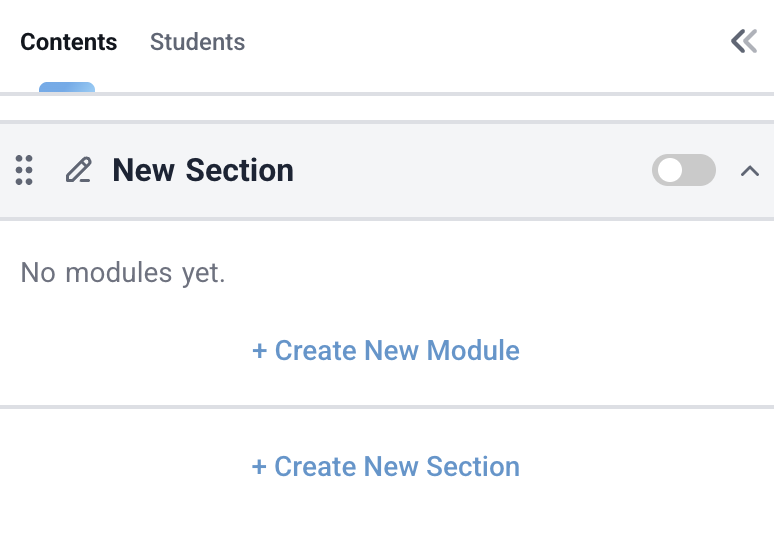
After saving, your LMS page will be updated and a menu like this will appear:
Fill in the Section name
Please fill in with the name you want. Then press Save.
After saving, your LMS page will be updated and a menu like this will appear:
 Please press the pencil icon button here
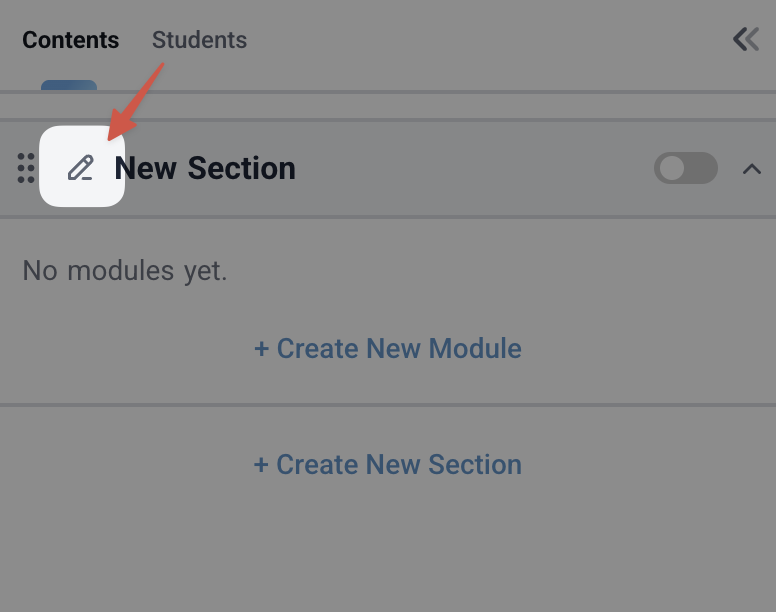 Once clicked, a menu like this will appear:
 If that dropdown menu is clicked, the following options will appear:
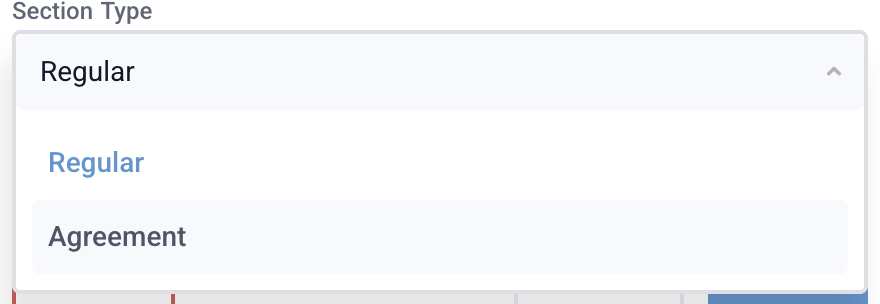 Section Types: Regular and Agreement
What’s the difference between regular and agreement?
Section Types: Regular and Agreement
What’s the difference between regular and agreement?
- Regular is a section type that will contain all your materials. In one LMS there can be many sections where each section can contain many modules.
-
Agreement is a special section type that will open first when your member enters the LMS and is about to start consuming it.
- Your Customer/Member cannot proceed to a regular section before agreeing to all modules within the agreement section.
Creating a Module
Click the following button: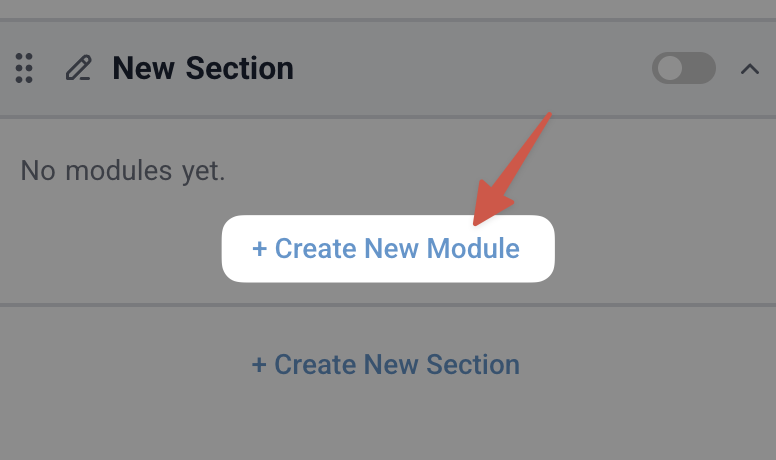 Then you will fill in the module like this:
 Note that there are 2 module types:
- Video. The main delivery of your material focuses on Video embedded from Youtube (there is no alternative other than Youtube yet).
- Text. The main delivery of your material focuses on text (article). Even though it’s in article/text form, you can still add/embed Youtube within the article you create.
 REMEMBER. Both Video and Text types, you can still add videos in the text editor found in each module.
Troubleshooting LMS-related errors
Error 1
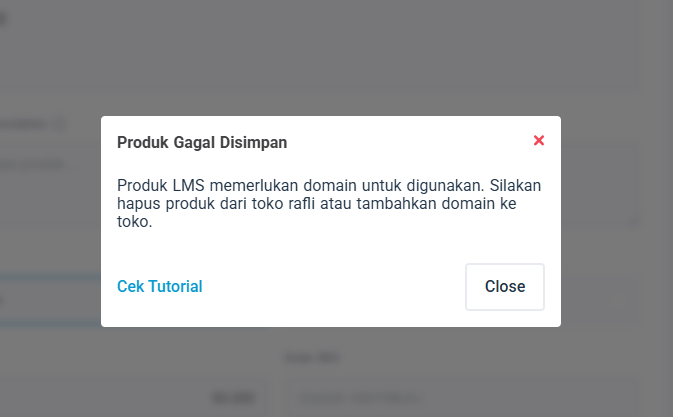 Product Failed to Save
Problem: This error appears because your store has not assigned a domain.
Solution: Assign the store domain first, scroll here for how to assign a domain.
Product Failed to Save
Problem: This error appears because your store has not assigned a domain.
Solution: Assign the store domain first, scroll here for how to assign a domain.
Error 2
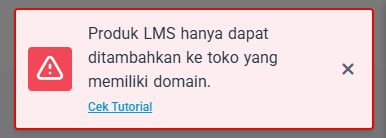 Add LMS product
Problem: This error appears when you want to add an LMS product to your store, but you can’t because the domain hasn’t been assigned to the store.
Solution: Assign the store domain first, scroll here for how to assign a domain.
Add LMS product
Problem: This error appears when you want to add an LMS product to your store, but you can’t because the domain hasn’t been assigned to the store.
Solution: Assign the store domain first, scroll here for how to assign a domain.
Error 3
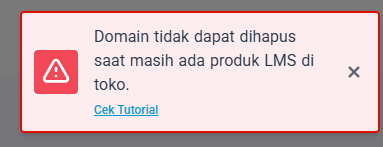 Deleting the store domain
Problem: You want to delete a domain that was previously assigned to the current store but when you try to delete it, you can’t.
Solution: Delete the LMS products that currently exist in your store first, then you can delete the domain.
Deleting the store domain
Problem: You want to delete a domain that was previously assigned to the current store but when you try to delete it, you can’t.
Solution: Delete the LMS products that currently exist in your store first, then you can delete the domain.
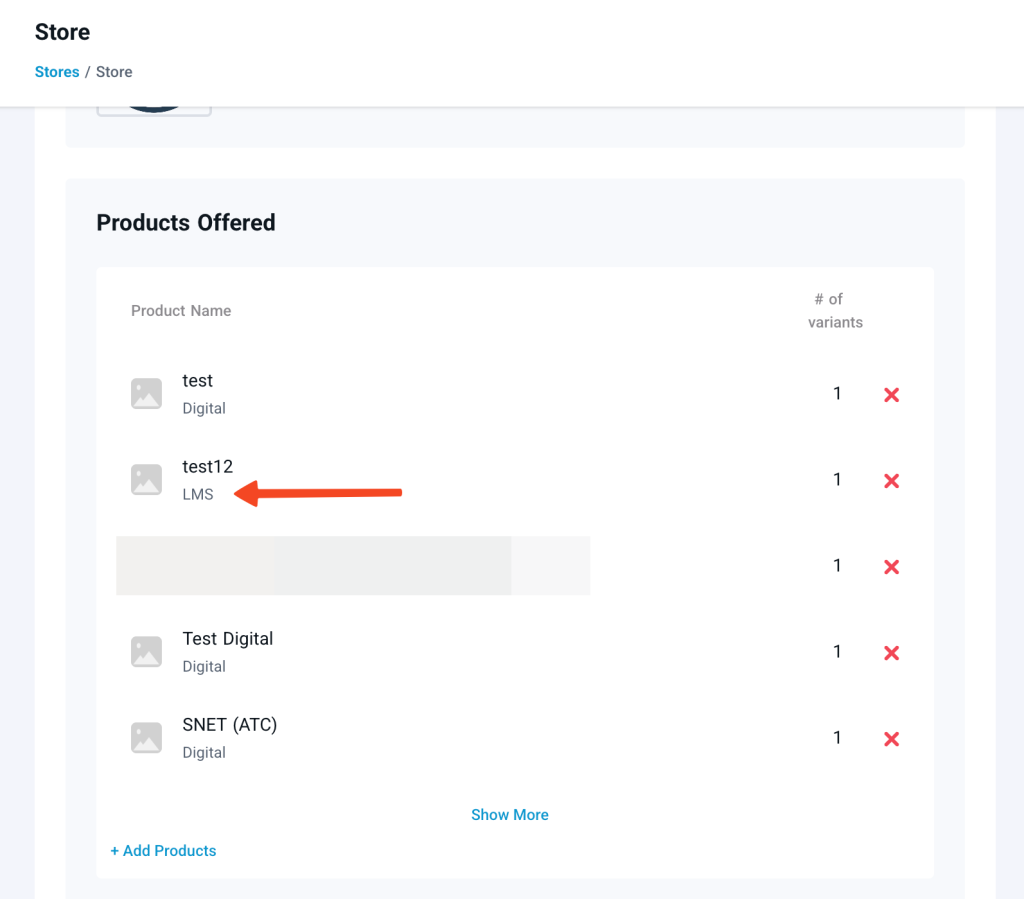 Delete LMS product in the store
Happy creating your LMS! Don’t forget to watch the video above for a more complete explanation.
Delete LMS product in the store
Happy creating your LMS! Don’t forget to watch the video above for a more complete explanation.
Video Tutorial